In the digital age, our iPhones serve as pocket-sized stores for memories. We gather these memories by capturing them through the lens. However, we need efficient storage space management as the photo count rises. Keep reading to learn how to delete all photos on your iPhone.
Managing digital content has become an essential skill, especially in a world dominated by rapidly evolving technology. Knowing how to delete all photos efficiently is valuable for interested iPhone users. How to delete photo albums from the iPhone is to clean slate or more storage space.
The photo deletion process involves navigating through the device’s photo library. Understand the difficulties of iCloud synchronisation and employ the right settings. All this information will ensure a stable deletion process.
When you want to declutter your photo gallery or prepare for a new device, simplify your digital footprint. Mastering the art of deleting all pictures on your iPhone is practical. It is an empowering skill in the era of ever-expanding digital content.
Here, we offer a comprehensive and user-friendly approach to deleting all photos on your iPhone. This knowledge will help you reclaim control over your iPhone’s photo collection.
We will walk through the ins and outs of deleting photos on your iPhone. Also, we will offer step-by-step solutions to common dilemmas. Let’s learn to streamline your photo library without sacrificing your cherished memories.
How do you delete individual photos?
Deleting individual photos from your iPhone is a straightforward process. One may complete the process through the Photos app. Here, we will guide you to manage your photo library effectively:
- Locating the photos app
- Navigating to the desired photo
- Deleting a single photo
How do you delete all photos on your iPhone?
Your photo management journey begins by tapping the Photos app icon on your iPhone’s home screen. Once there, the digital treasure trove of your memories unfolds.
Navigating to the desired photo
Readily navigate through your photos by scrolling or using the search bar. Locate the photo you wish to delete and prepare to lead in more storage space.
Deleting a single photo
Tap on the selected photo and click the trash can icon. Confirm your decision and make it. Hence, a single photo becomes a part of digital history.
How to delete albums on your iPhone?
Deleting albums on your iPhone is a simple process. It will help you organise your photo library.
Explaining the concept of photo albums
Photo albums on your iPhone serve as arrayed collections. A photo album allows easy organisation and recovery. Understanding their significance is essential before diving into deletion.
Deleting entire photo albums
Navigate to the album you wish to remove. In the next step, tap the three dots. Select “Delete Album” and affirm your decision. This efficient process ensures capable album management.
Tips for managing albums efficiently
Consider creating subject albums to enhance organisation. Regularly review and merge albums to keep your digital space arranged and manageable.
Efficiently managing albums on your iPhone can help streamline your photo organisation. Photo management may enhance your overall user experience. Here are some tips to boost album efficiency:
- Create purposeful albums
- Regularly review and clean up
- Utilise smart albums
- Use folders for better organisation
- Add descriptive captions or tags
- Take advantage of an iCloud photo library
- Sort photos within albums
- Regularly back up your albums
- Optimise storage settings
- Educate yourself on advanced features
Create purposeful albums
Define specific themes or groups for your albums. For instance, “Vacations,” “Family Events,” or “Work-related.” It makes it easier to locate and browse photos according to content.
Regularly review and clean up
From time to time, review your albums. Delete or archive photos that are no longer relevant. It will ensure that your albums are relevant and clutter-free.
Utilise smart albums
Use features like Smart Albums that automatically organise photos. Such groups assure specific criteria like location, people, or date. It can save you time and effort in manual organisation.
Use folders for better organisation
If you have a large number of albums, consider creating folders. Create group-related albums together. This graded structure can make navigation more insightful.
Add descriptive captions or tags
Enhance album availability by adding captions or tags to photos. This action makes it easier to find specific pictures within an extensive collection.
Take advantage of an iCloud photo library
Enable iCloud Photo Library to sync your albums across all your Apple devices. It ensures consistency in your photo organisation, regardless of your device.
Sort photos within albums
Arrange photos within albums according to your preferred order. For instance, save images by time or event. It can make the browsing experience more logical.
Regularly back up your albums
While learning to delete all photos on your iPhone,back up your photo albums to iCloud or an external storage solution. Such measures will safeguard your memories. This precaution ensures that your photo albums remain secure even if you lose your device.
Optimise storage settings
Enable the “Optimise iPhone Storage” option in Settings > Photos. Especially if your iPhone is running low on storage. This setting keeps full-resolution photos in iCloud. However, it helps store smaller versions of images on your device.
Educate yourself on advanced features
Explore advanced features within the Photos app. It includes memories, shared albums, and favourites. These features can provide extra ways to organise and enjoy your photos.
By employing these tips, you will learn how to delete all photos on your iPhone and manage your photo albums. Revisiting your captured moments will create a more organised and enjoyable experience.
How do you delete multiple photos on your iPhone?
You can delete multiple photos on your iPhone by following specific steps. This method is efficient for organising your photo library and freeing up storage on your device. Always double-check your selection before confirming the deletion. It will avoid unintentional loss of essential photos.
Overview of the importance of bulk selection
Bulk selection is the private weapon in the war against clutter. Selecting multiple photos at once could be a game-changer for efficient management.
How do you select multiple photos in the Photos app?
How do you delete photos on your iPhone? Hold down on a photo and select it, then swipe to select more. The “Select” option provides a quick solution for choosing multiple photos in a flash.
Tips for efficient photo selection
For accuracy, use the zoom gesture to select individual photos precisely. Mastering the art of swift photo selection simplifies the entire process.
How do you delete multiple pictures on your iPhone?
Using the Photos app, you can delete multiple pictures on your iPhone in simple steps. You can efficiently delete multiple photos on your iPhone following a few steps.
This action will help you manage your photo library. Also, it will free up storage space on your device. Always double-check your selection before confirming the deletion to avoid unintentional data loss.
Delete multiple selected photos
After selecting multiple photos, locate the trash can icon and confirm deletion. This method ensures a swift and effective removal of unwanted photos.
Ensuring confirmation before deletion
iPhone’s design highlights user caution. Always confirm your decision to delete multiple photos to avoid accidental data loss.
Avoiding accidental deletions
Use the “Recently Deleted” folder as a safety net. Deleted photos stay in the folder for 30 days. It will provide a window for recovery if needed.
How do I delete all pictures from my iPhone?
Deleting all photos from your iPhone is a permanent action. You would only be able to recover them if you have a backup. If you have important photos, consider backing them up before deleting them.
Additionally, ensure that your photos are not synchronised with iCloud for permanent removal. Or your photos do not have other backup services if you want to remove them fully from your device.
Highlighting scenarios where deleting all photos is necessary
There are moments when a clean slate is essential. Understand when and why you might consider wiping the device clean.
A step-by-step process for deleting all photos on iPhone
If you want to delete all pictures on your iPhone, you can use the Photos app. However, keep in mind that this action is permanent. You can only recover the photos if you have a backup. Here’s a step-by-step guide:
- Open the Photos app
- Navigate to the “Photos” tab
- Select “Select”
- Choose all photos
- Tap the trash can icon
- Confirm deletion
- Check recently deleted album (Optional)
Open the Photos app
Unlock your iPhone and locate the Photos app on your home screen. The app icon looks like a multicoloured flower.
Navigate to the “Photos” tab
Tap on the “Photos” icon at the bottom of the screen. It will give you access to the entire photo library.
Select “Select”
There would be an option of “Select” on the top-right or top-left corner of the screen; tap on it. This action will allow you to select multiple photos at once.
Choose all photos
If an option like “Select All” is available, tap it. By tapping, you can choose all the photos in your library. If not, you’ll need to select each photo manually.
Tap the trash can icon
After selecting all the photos, look for the trash can icon. You may find it located at the bottom-right corner of the screen. Tap on it.
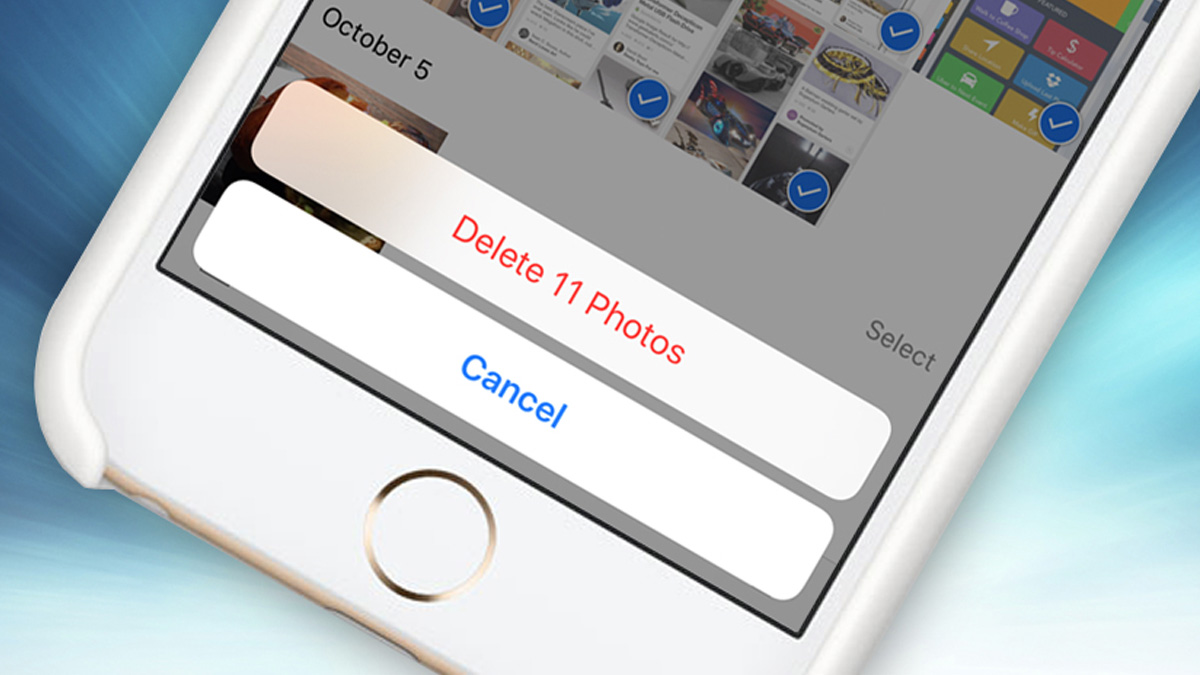
Confirm deletion
A prompt will appear on the screen, asking if you want to delete all the selected photos. Confirm by tapping “Delete all Photos.”
Check recently deleted album (Optional)
Deleted photos are moved to the “Recently Deleted” album. It is the place where they will remain for 30 days before being permanently deleted. If you want to permanently delete the photos immediately, follow these steps:
- Go to the “Recently Deleted” album
- Select “Select All,”
- Choose “Delete Photos.”
Remember to follow caution while performing these steps. Ensure you have backed up any essential photos before proceeding. Deleting all photos on your iPhone is a significant action, and being certain about it is crucial.
Cautionary notes to prevent data loss
Before starting the mass deletion, back up cherished memories. Use iCloud or an external storage solution to protect your valuable photos.
How to delete photos from your iPhone but not iCloud?
You can do it if you want to delete photos from your iPhone but keep them in iCloud. This process ensures that you may remove photos from the device but remain accessible through iCloud:
- Understanding the distinction between iPhone and iCloud storage
- Ensuring Photos Are Removed from iPhone but Remain in iCloud
- Open settings
- Tap on your Apple ID
- Select “iCloud”
- Tap on “Photos”
- Deactivate “iCloud Photos”
- Delete photos from iPhone
- Re-enable iCloud photos (Optional)
Understanding the distinction between iPhone and iCloud storage
Distinguishing between local iPhone storage and iCloud’s cloud-based storage is essential. Learn how to balance both smoothly.

Ensuring Photos Are Removed from iPhone but Remain in iCloud
In Settings, deactivate “Optimise iPhone Storage” to keep high-resolution photos in iCloud. At the same time, it frees up space on your device.
Open settings
Unlock your iPhone and find the “Settings” app on your home screen.
Tap on your Apple ID
Scroll down and click on your Apple ID at the top of the Settings menu.
Select “iCloud”
In the Apple ID menu, find and tap on “iCloud.”
Tap on “Photos”
In the iCloud settings, locate and tap on “Photos.”
Deactivate “iCloud Photos”
You will see an option at the top tagged “iCloud Photos.” Toggle the switch to the off position. If you’re prompted to confirm, select “Remove from iPhone.”
Delete photos from iPhone
After turning off iCloud Photos, you can return to the Photos app. Delete the photos from your iPhone without affecting the copies stored in iCloud.
- Open the Photos app.
- Navigate the album or section where you locate the photos.
- Select all the photos you intend to delete by tapping “Select” and then choosing the images.
- Tap on the trash can icon and confirm the deletion.
Re-enable iCloud photos (Optional)
How do you delete all photos on your iPhone? After deleting the photos from your iPhone, you can return to the iCloud Photos. Go to settings (Settings > [Your Name] > iCloud > Photos) and toggle “iCloud Photos” back on. Suppose you are planning future photos to sync with iCloud automatically.
This process lets you remove photos from your iPhone while storing them in iCloud. Remember that if you delete photos from your iPhone while enabling iCloud Photos. You will delete pictures from iCloud and other devices connected to the same iCloud account. Disable iCloud Photos before deletion to prevent this synchronisation.
How to permanently delete photos from your iPhone?
Explaining the concept of permanent deletion
Understand the permanence of deletion. Uncover the difference between moving photos to the “Recently Deleted” folder and erasing the pictures permanently.
Ensuring deleted photos are not recoverable
Permanently delete photos from the “Recently Deleted” folder. It will ensure these photos are unrecoverable. Safeguard your privacy and sensitive content with this critical step.
Tips for securely erasing sensitive content
For added security, consider third-party apps. Certain apps will securely erase sensitive photos, leaving no digital traces behind.
Open the “Photos” app
Unlock your iPhone and locate the Photos app on your home screen.
Navigate to the “Albums” tab
Tap on the “Albums” tab at the bottom of the screen to reach different albums.
Go to the “Recently Deleted” album
Scroll down to find the “Recently Deleted” album. Tap on it to view the recently deleted photos.
Select photos to delete permanently
In the “Recently Deleted” album, tap “Select” in the top-right corner. It allows you to choose multiple photos at once. Alternatively, you can tap “Delete All” to delete all photo albums permanently.
Permanently delete selected photos
Select the photos you want to delete permanently. Tap on “Delete” or “Delete the number of photos.”
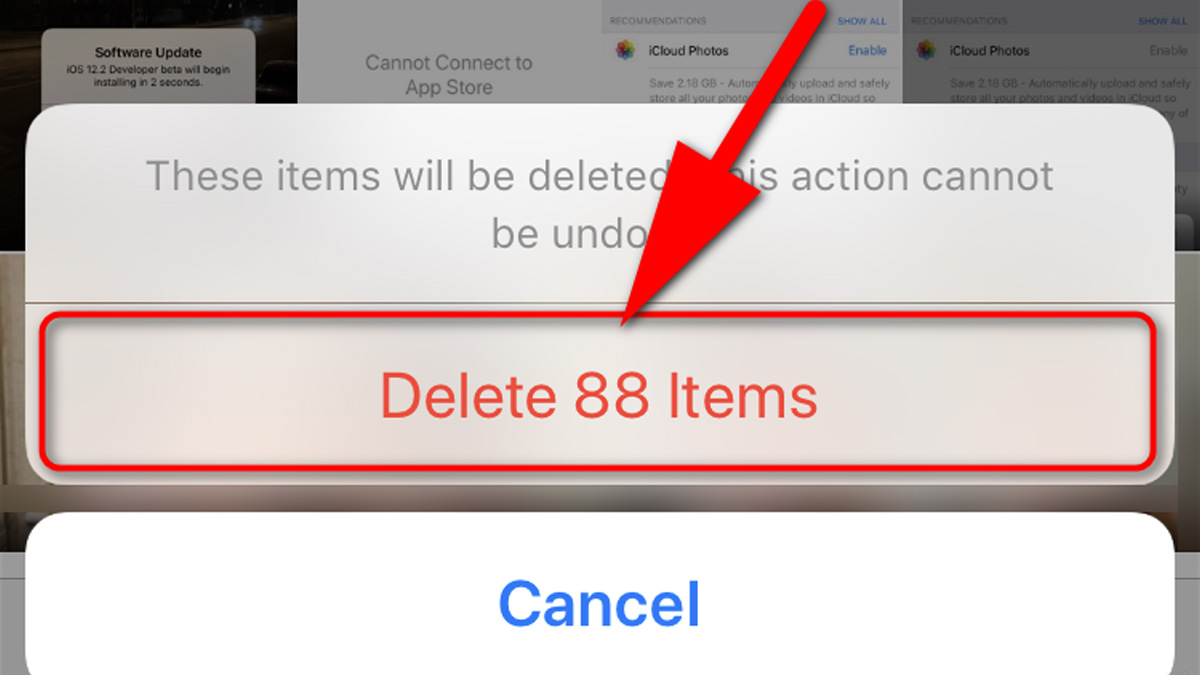
Confirm deletion
A confirmation prompt will appear on the device. Confirm the action by tapping “Delete the number of photos” again.
Empty recently deleted album
To ensure that you have removed the photos permanently. In the next step, you must empty the “Recently Deleted” album. Tap on “Delete All” or select each photo and then tap “Delete.” Confirm the action as a final step.
By following all these steps, you permanently delete all photos from your iPhone. Remember that once you delete all your photos from the “Recently Deleted” album. You cannot recover these pictures, so select the right photos for deletion.
Additionally, if you have enabled iCloud Photos, the deletions will synchronise across all devices connected to the same iCloud account. If you want to keep a backup, ensure you’ve backed up your photos before permanently deleting them.
How do you delete deleted photos on your iPhone?
When you delete all photos on your iPhone, you move them to the “Recently Deleted” album. You may store them there for 30 days before deleting them permanently. If you want to delete photos from the “Recently Deleted” album before the 30-day period is over, here’s how you can do it:
- Open the “Photos” app
- Go to the “Recently Deleted” album
- Select photos to delete permanently
- Permanently delete selected photos
- Confirm deletion
- Empty recently deleted album
- Understanding the “Recently Deleted” folder
- How to permanently delete photos from the “Recently Deleted” folder
- Preventing the recovery of deleted photos
Open the “Photos” app
Locate and open the Photos app on your iPhone.
Go to the “Recently Deleted” album
Scroll down to find the “Recently Deleted” album. You can typically locate the album under the “Other Albums” section.
Select photos to delete permanently
Tap on “Select” in the top-right corner of the screen. It allows you to choose numerous photos at once. You can even tap “Delete All” to delete all photos on your iPhone permanently.
Permanently delete selected photos
Select the photos you permanently want to delete. Tap on “Delete” or “delete number of photos.”
Confirm deletion
A confirmation prompt will appear on the screen. Confirm the action by tapping “Delete the number of photos” again.
Empty recently deleted album
How do you delete all photos on your iPhone? To ensure that you have removed images permanently, you need to empty the “Recently Deleted” album. Tap on “Delete All” or select each photo and then tap “Delete.” Confirm the action in the end.
Remember that once you delete photos from the “Recently Deleted” album, you may not recover them. Ensure you have selected the right photos for deletion before confirming the action.
Additionally, if you have enabled the iCloud Photos, the deletions will synchronise across all devices. The action includes all devices connected to the same iCloud account. If you want to keep a backup, ensure you’ve backed up your photos before permanently deleting them.
Understanding the “Recently Deleted” folder
Explore the safety net provided by the “Recently Deleted” folder. Learn how it serves as a temporary holding space for deleted photos.
How to permanently delete photos from the “Recently Deleted” folder
In the “Recently Deleted” folder, tap “Select”> “Delete All.” Confirm your choice to remove the photos permanently.
Preventing the recovery of deleted photos
Stay proactive by regularly emptying the “Recently Deleted” folder. This simple step ensures you can never find more deleted photos on your device. It will reduce the risk of unintended recovery.
How do you mass delete photos from an iPhone?
If you want to mass-delete photos from your iPhone, you can use the Photos app. Here’s a step-by-step guide:
- Open the Photos app
- Navigate to the “Photos” tab
- Select “Select”
- Choose multiple photos
- Tap the trash can icon
- Confirm deletion
- Check recently deleted album (Optional)
- Definition of Mass Deletion
- Tools and techniques for mass deleting photos
- Best practices for efficiently managing a large photo library
Open the Photos app
Unlock your iPhone and find the Photos app on the home screen. The app icon looks like a multicoloured flower.
Navigate to the “Photos” tab
Tap on the “Photos” tab at the bottom of the screen. This way, you will access your entire photo library.
Select “Select”
In the screen’s top-right or top-left corner, tap “Select.” It allows you to select multiple photos at once.
Choose multiple photos
Tap on each photo you want to delete. You’ll see a tick mark on the selected photos. If you choose a range of photos, tap and hold on one photo. Likewise, drag your finger to select more.
Tap the trash can icon
After selecting all the photos you want to delete, look for the trash can icon. You may find it usually at the bottom-right corner of the screen. After seeing the icon, tap on it.
Confirm deletion
A confirmation dialog will appear, asking if you want to delete the selected photos. To delete all photos on your iPhone, confirm by tapping “Delete Photos.”
Check recently deleted album (Optional)
Deleted photos go to the “Recently Deleted” album. Here, photos will stay for 30 days before being permanently deleted. If anyone wants to permanently delete the images immediately, go to the “Recently Deleted” album. In the next step, select “Select All,” then choose “Delete Photos.”
Following these steps, you can mass-delete photos from your iPhone. It will help you free up storage space and organise your photo library. Always double-check your selection before confirming the deletion. Specific measures are there to avoid unintentional data loss.
Definition of Mass Deletion
Discover the power of mass deletion and its role in managing an extensive photo library. Simplify your photo management process with this advanced technique.
Tools and techniques for mass deleting photos
Explore third-party apps specified for mass deletion. Such tools offer additional features and flexibility for the process. It also provides more tailored solutions for those who want to delete all iPhone photos.
Best practices for efficiently managing a large photo library
Establish a routine for photo management. Regularly assess and organise your photo library. It will prevent it from spiralling into turmoil.
Frequently Asked Questions (FAQs)
Frequently asked questions (FAQs) provide quick and concise answers to common queries. It will enhance user convenience and reduce the need for extensive support.
They serve as a valuable resource for users seeking immediate solutions, streamlining communication, and improving overall user experience. They also contribute to efficient information diffusion, addressing recurring concerns efficiently. Whereas promoting a better understanding of a topic or service.
Can I recover photos after deleting them on my iPhone?
If you delete photos, they are moved to the “Recently Deleted” album. You may recover them within 30 days.
How do I permanently delete photos from my iPhone?
To permanently delete photos, go to the “Recently Deleted” album. Select the photos, then choose “Delete” or “Delete All.”
What’s the purpose of the “Recently Deleted” album?
The “Recently Deleted” album serves as a safety net. It will store deleted photos for 30 days before permanent deletion.
Can I delete multiple photos at once on my iPhone?
Yes, open the Photos app and select “Select.” Choose the photos, tap the trash can icon, and confirm the deletion.
How do I delete all photos on my iPhone?
Open the Photos app, select “Select,” and choose “Select All.” The other option is manually selecting photos, tapping the trash can icon, and confirming the deletion.
Can I organise my photos into folders on my iPhone?
While there are no traditional folders, you can create albums. Use the “Folders” feature to organise related albums.
Conclusion
Managing and organising our photos is essential in the age of digital documentation and smartphone prevalence. Managing storage and photos is integral to using devices like the iPhone.
How do you delete all photos on your iPhone? Learn the process, whether creating space for new memories, simplifying digital clutter, or preparing for a device transition. Understanding how to delete photos, entire albums, or the entire photo library is essential.
The user-friendly interface of the Photos app on the iPhone facilitates these tasks, allowing users to selectively remove pictures or comprehensively clean their photo gallery with just a few taps.
Features like the “Recently Deleted” album also provide a safety net. It enables users to recover accidentally deleted content within a specified period. The process contributes to efficient storage management and empowers users to curate. It will maintain a personalised and clutter-free digital photo collection.
In conclusion, mastering the art of deleting all photos on your iPhone is more than just creating space. It is about curating a digital environment that complements your lifestyle.
Now, we know how to navigate the complications of iPhone photo management confidently.
Regularly revisit the given steps to maintain an amicable balance between preserving memories and optimising your device’s performance. Your iPhone and your digital memories will thank you.